One of the most common questions we receive from Arizona homeowners is regarding the difference in quality and durability between 2cm (3/4″) and 3cm (1 ¼”) stone slabs. To help you make an informed decision, this guide visually breaks down the fabrication process. Below, we demonstrate the pros and cons of each thickness using real-world examples—including a custom kitchen project featuring laminated 2cm stone and raw slabs on our bridge saw. Explore the unique movement, patterns, and structural differences to find the perfect fit for your home.
02.
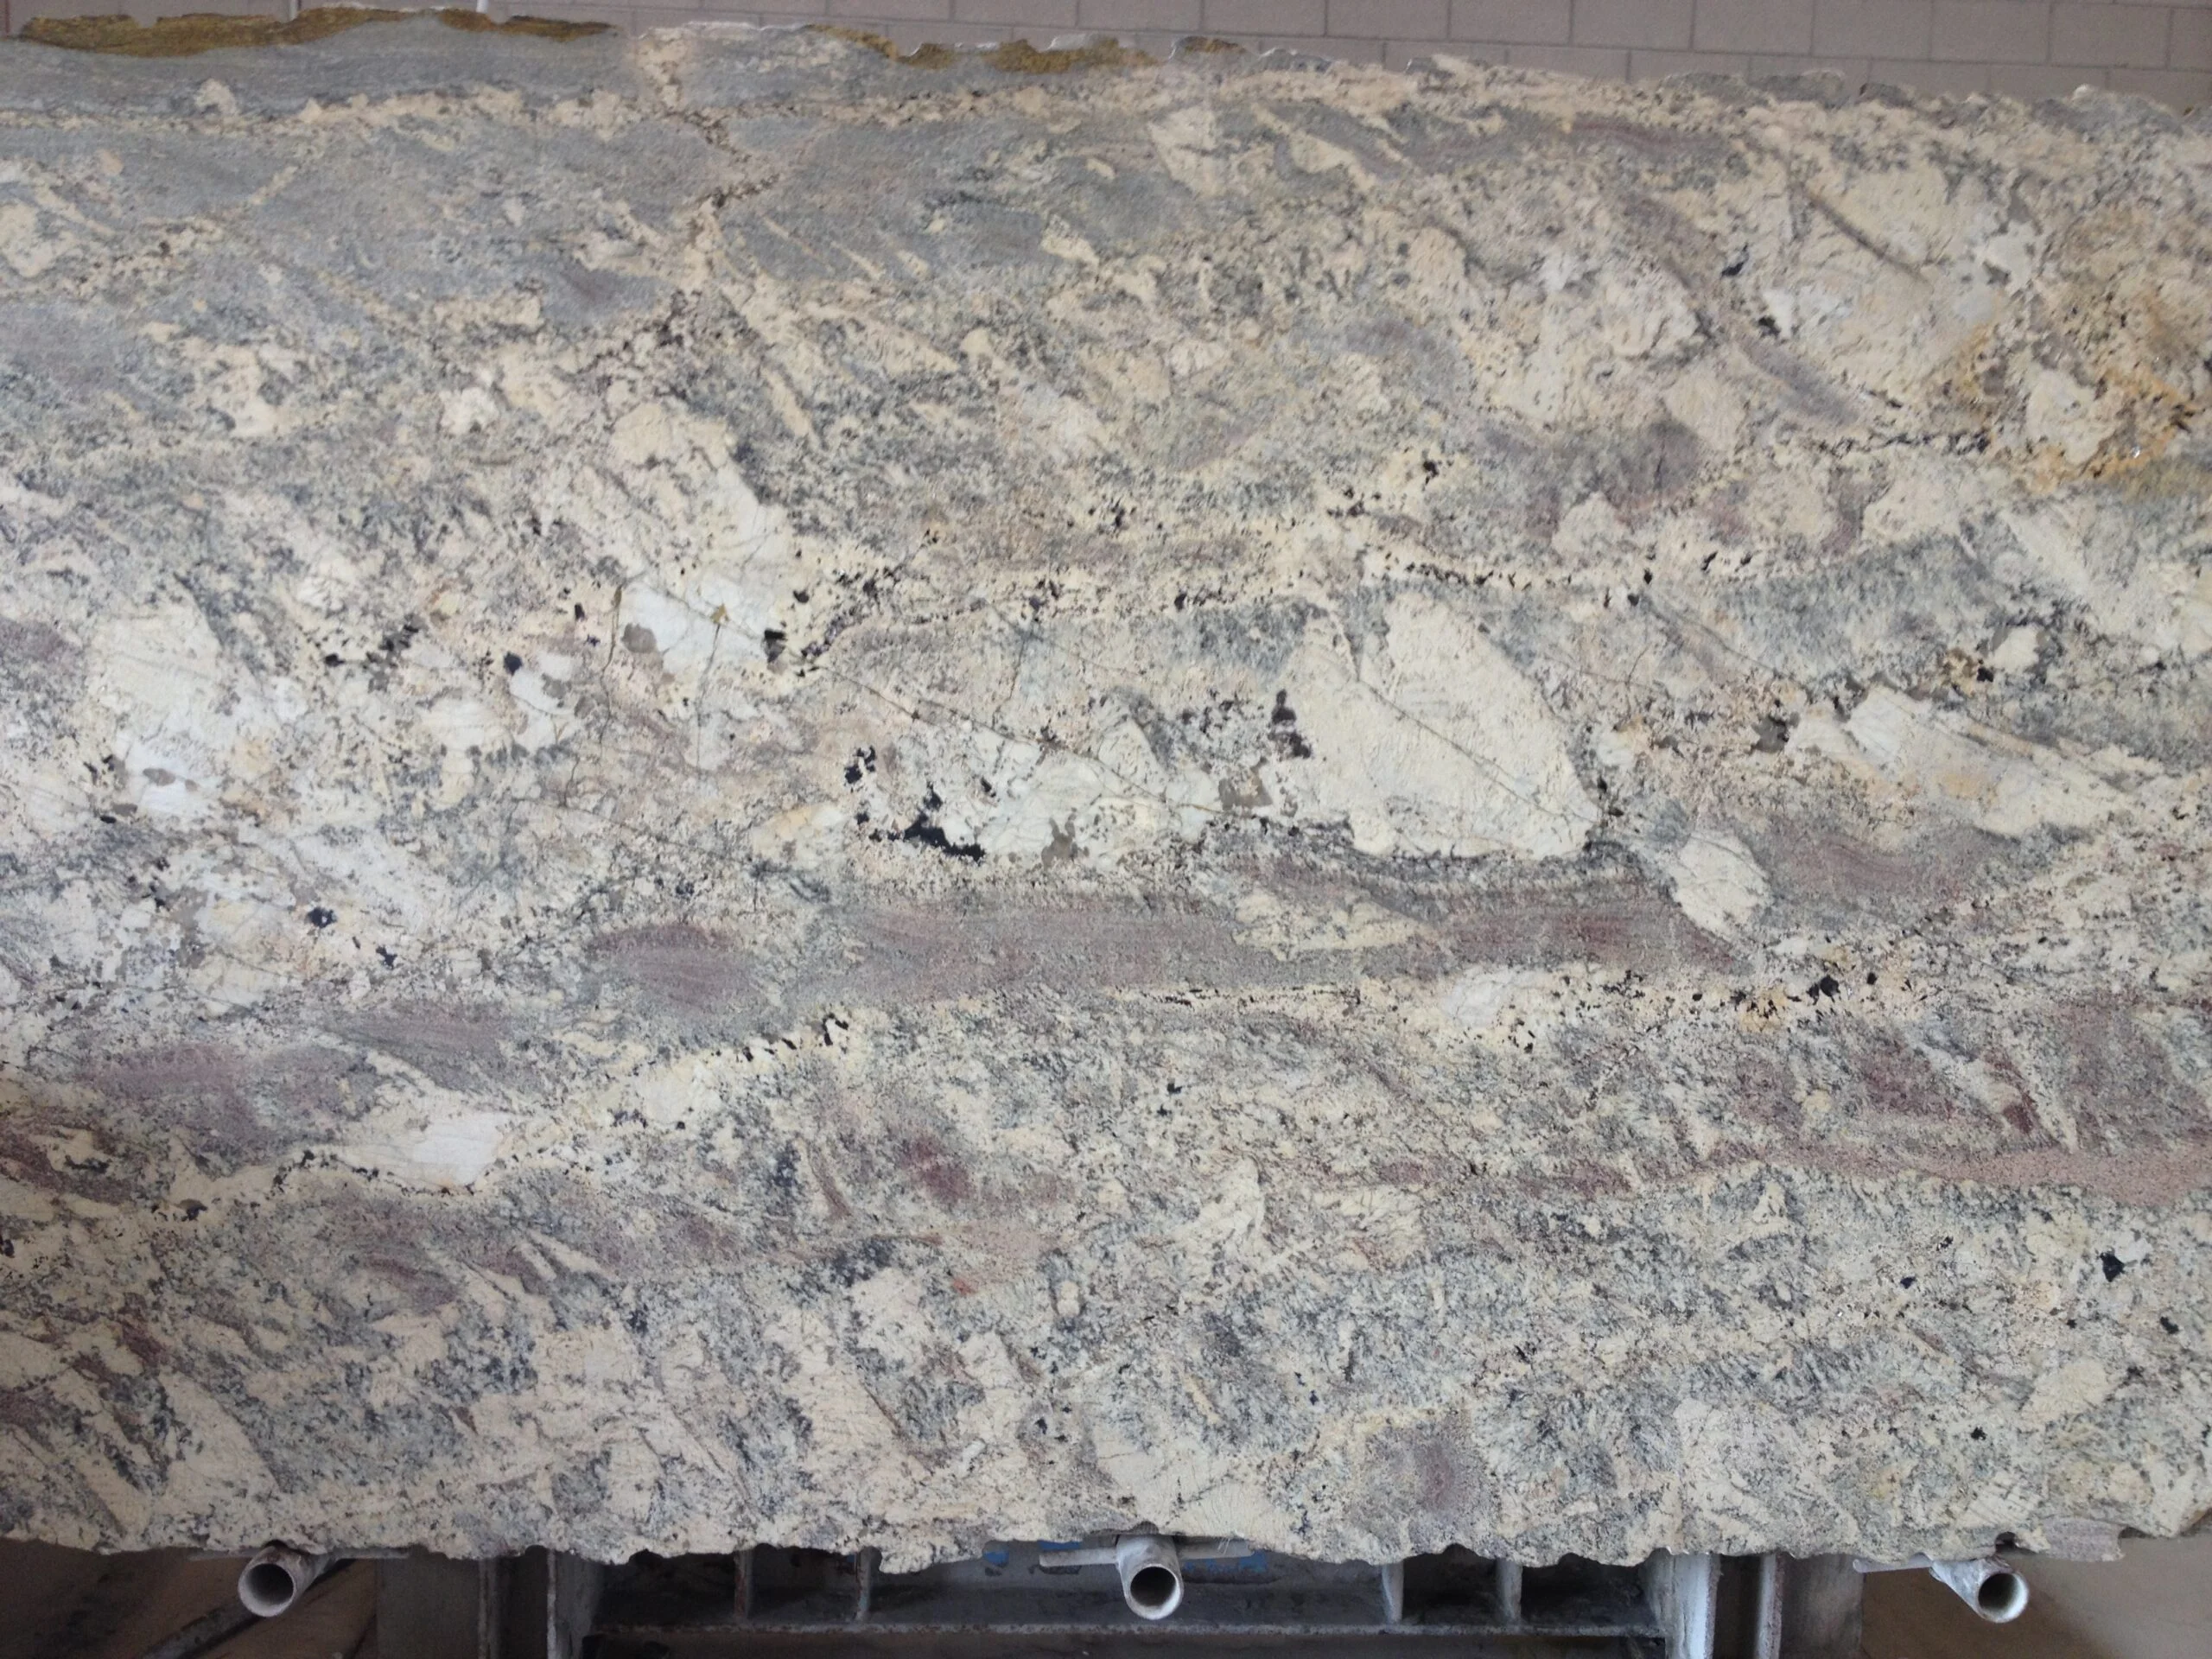
The Technical Challenges of Granite Lamination
This image demonstrates the custom fabrication required for an inside corner countertop. The stone has been flipped to apply the laminated edge. You can observe the delicate nature of soft granite on the right, where a fracture occurred during the cutting phase.
Creating a seamless look on inside corners requires technical precision. Since a continuous laminate strip isn’t feasible here, we utilize distinct pieces from the slab to complete the edge. While we strive for perfection, customers should be aware that natural variations may affect the color match at the seam. Finally, we oversize every laminated edge by 0.5″ to allow for a precision double cut during installation.
03.
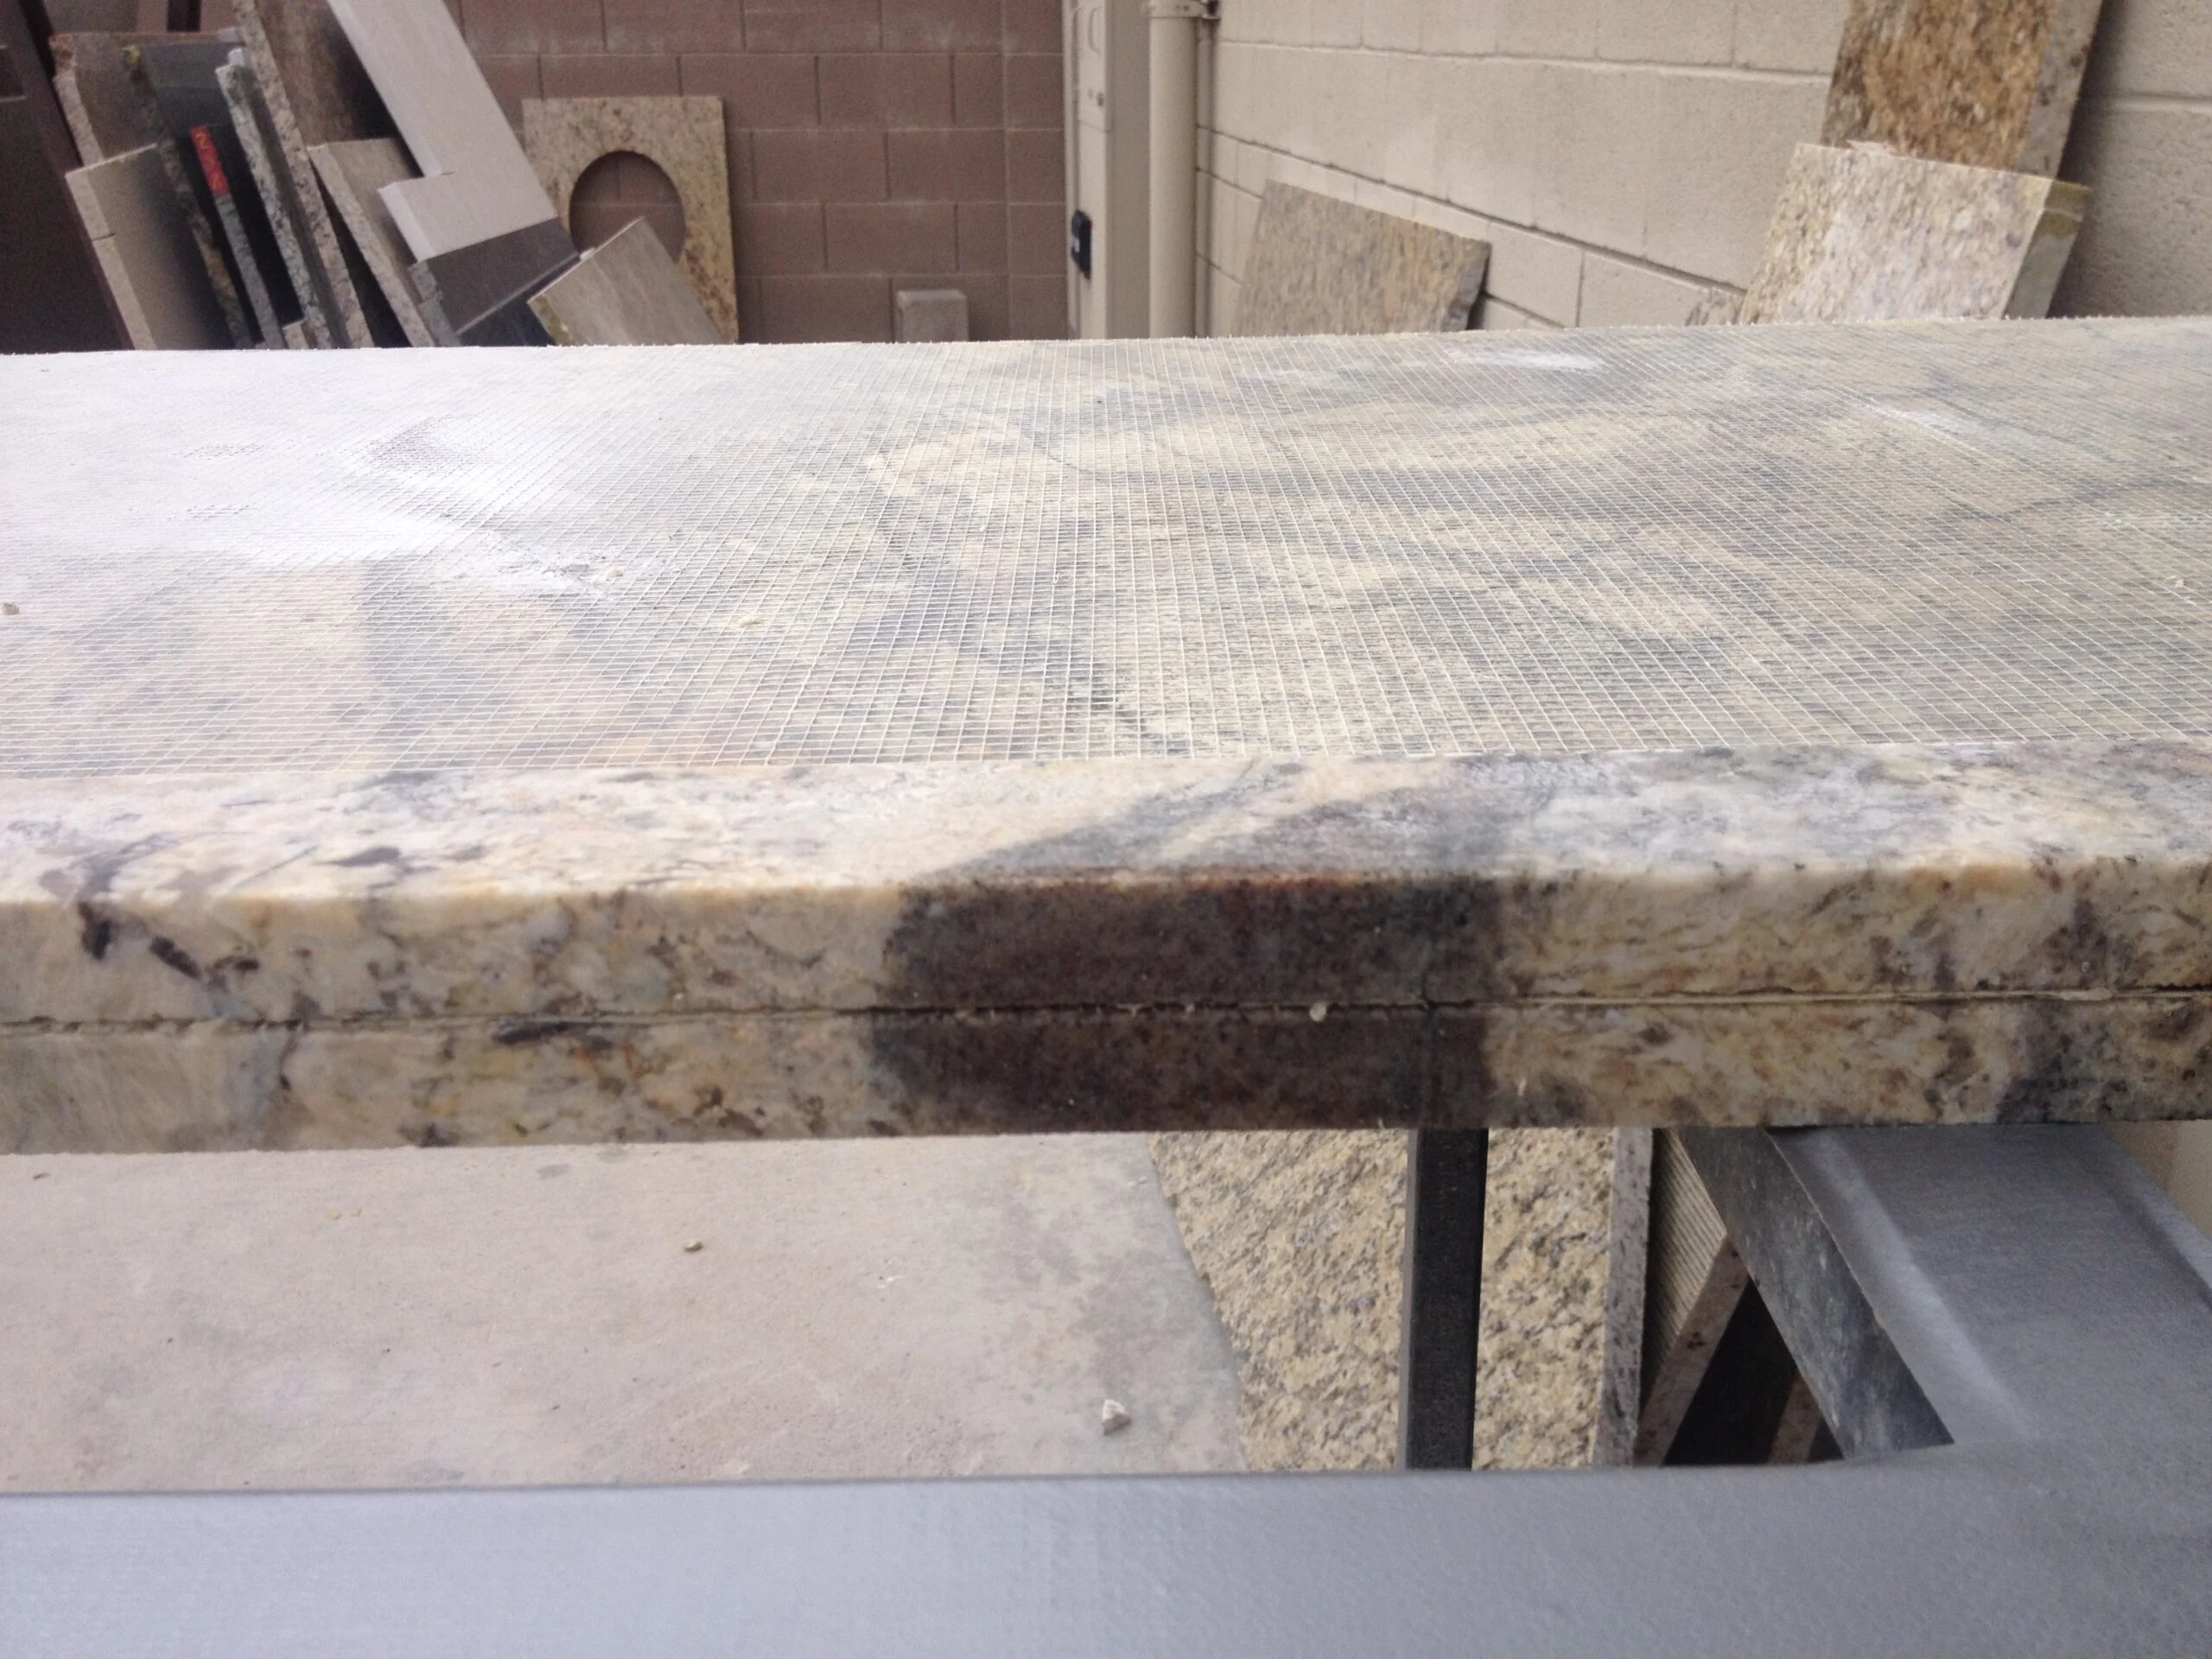
Understanding Laminated Edges on 2CM Granite
This image illustrates the standard laminated edge technique used for 2cm granite countertops in Arizona. By bonding a matching strip of stone to the underside of the slab, we increase the edge profile from ¾” to a substantial 1 ½” (4cm).
Why do we do this?
Visual Weight: It mimics the look of thicker, more expensive stone.
Pattern Matching: As shown, we cut the laminate from the immediate edge to maintain the stone’s natural flow.
Note: This image shows the raw assembly before gluing and polishing.
04.
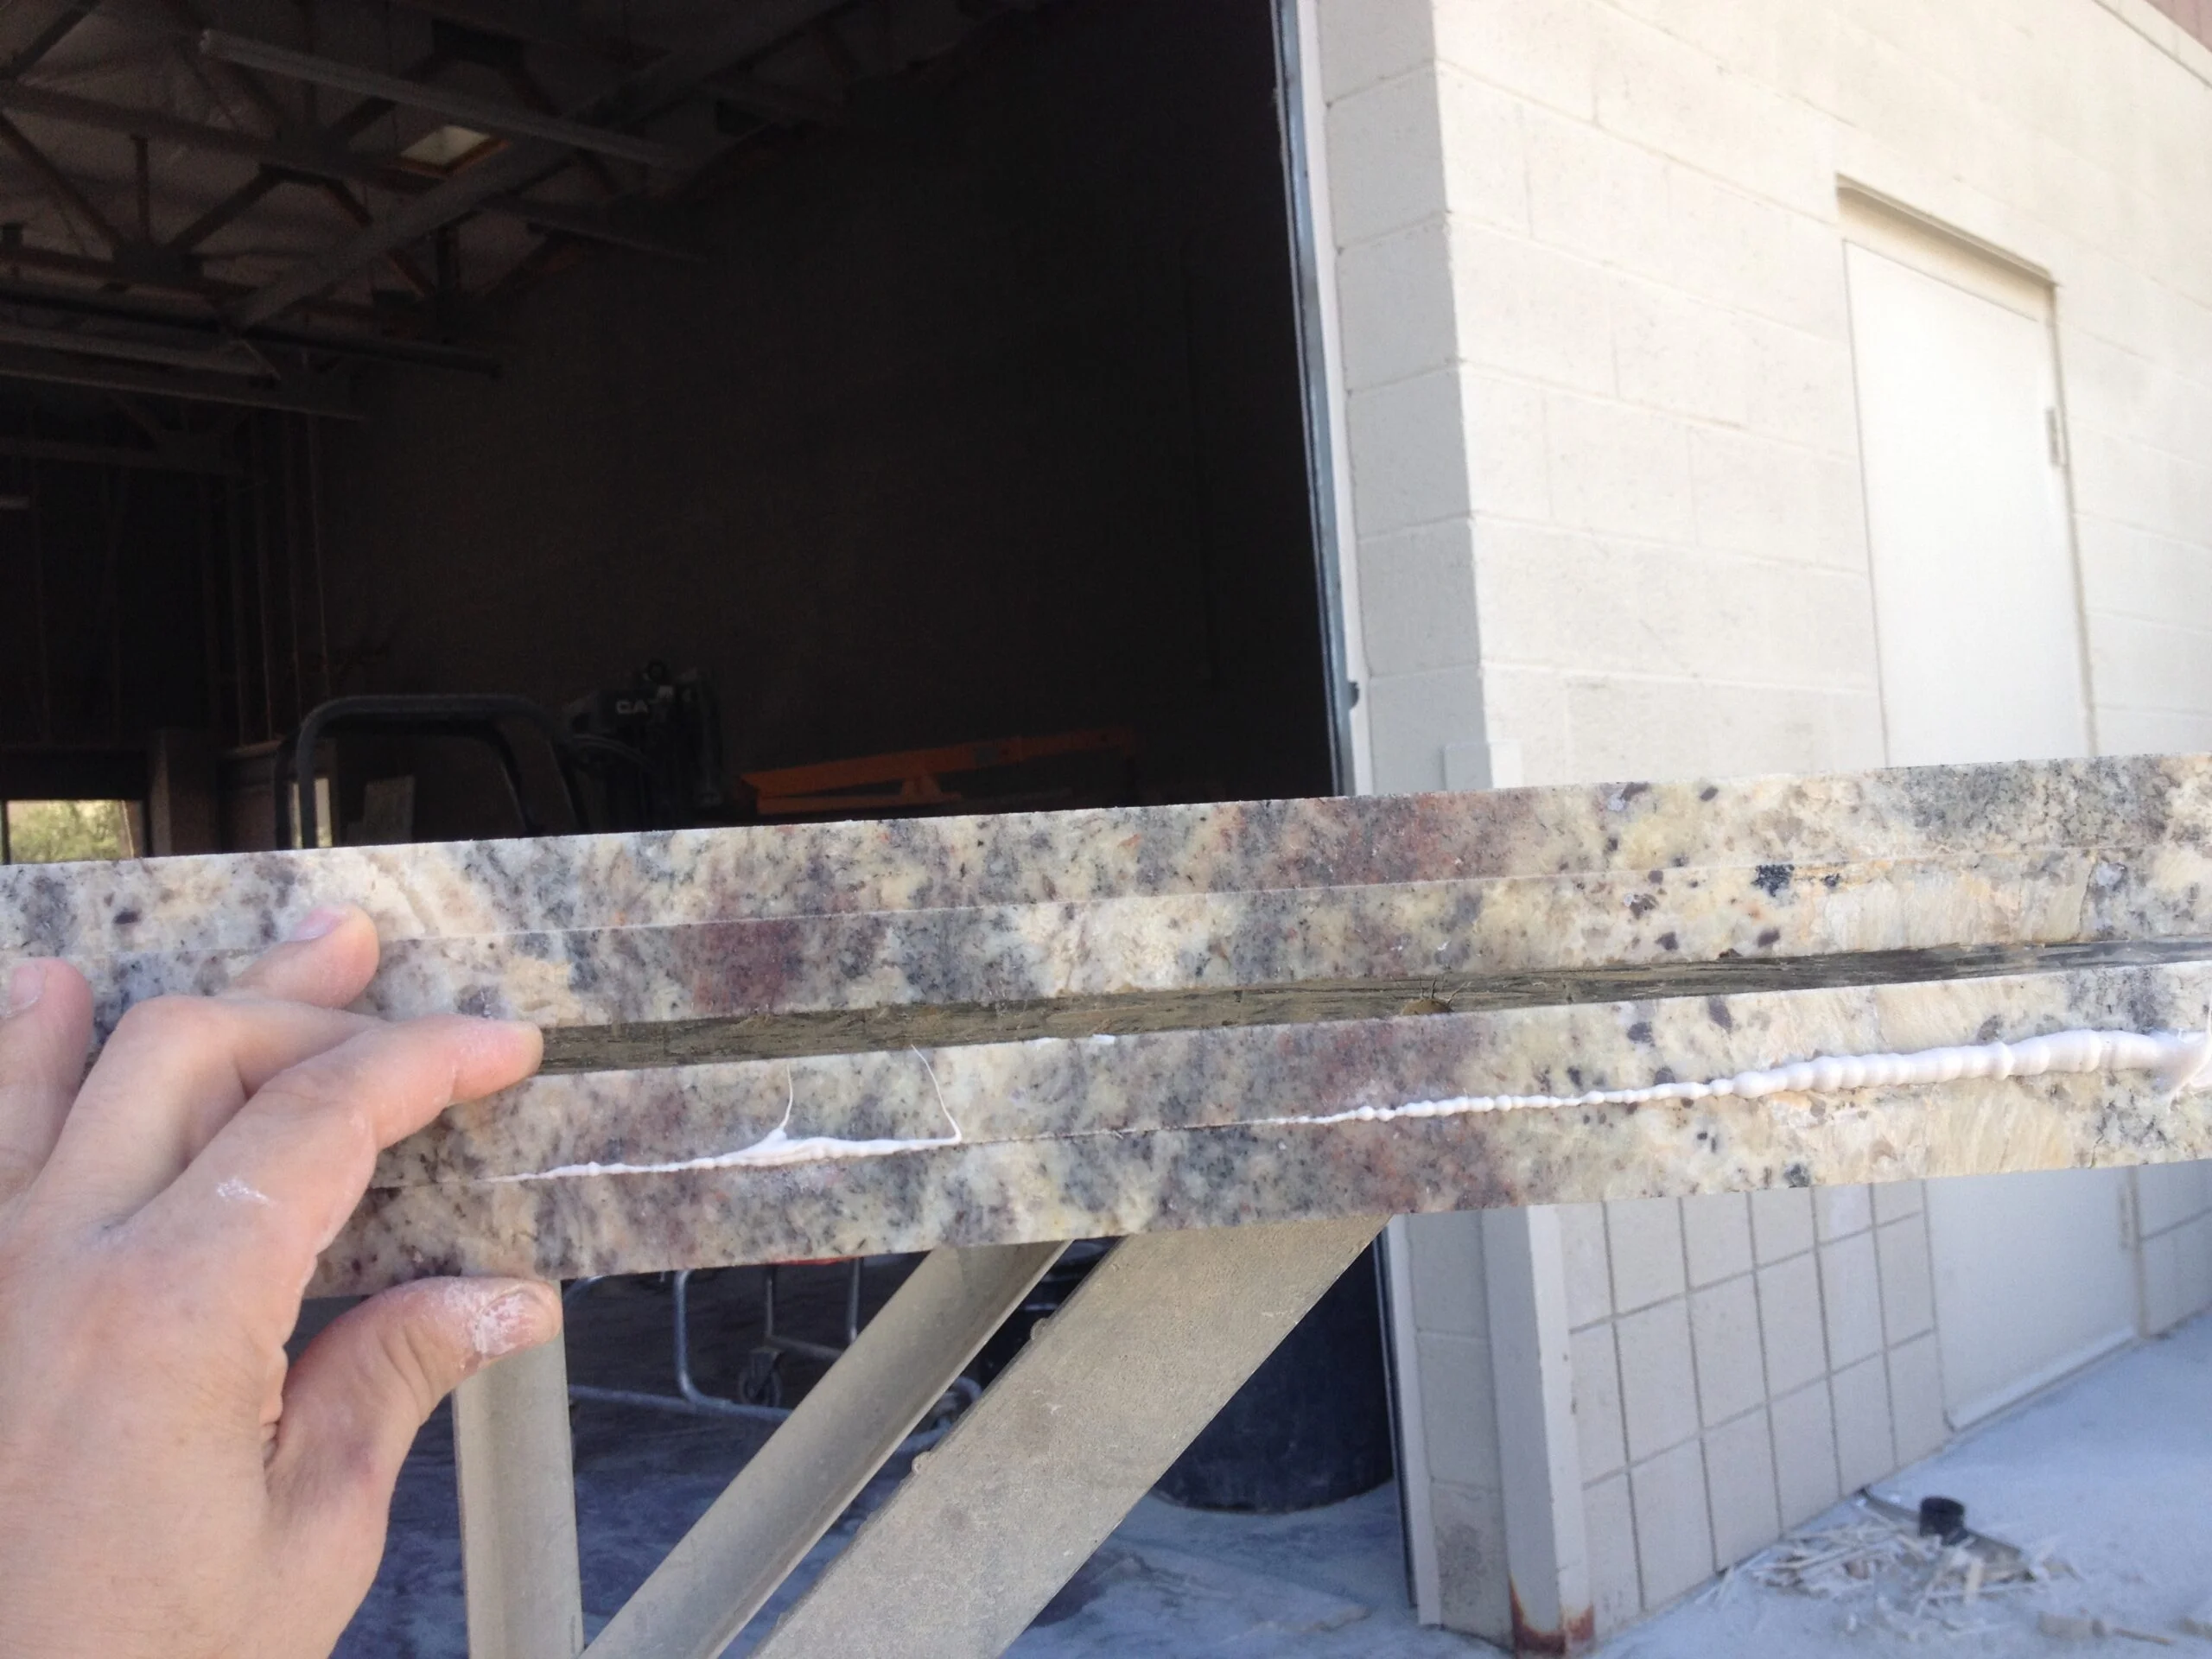
Final Sizing and Pattern Continuity
Following the epoxy application, the countertop undergoes its final sizing cut. This photo illustrates the difference between the finished edge (top) and the remaining offcut (bottom).
While 2cm lamination creates a thicker look, it does present a challenge with “movement” continuity. As you can see, the offcut aligns perfectly with the grain. However, the final laminated edge shows a slight break in the pattern flow. This visual discrepancy is caused by the loss of approximately one inch of stone during the cutting and squaring process, creating a “jump” in the vein movement from the deck to the apron.
05.
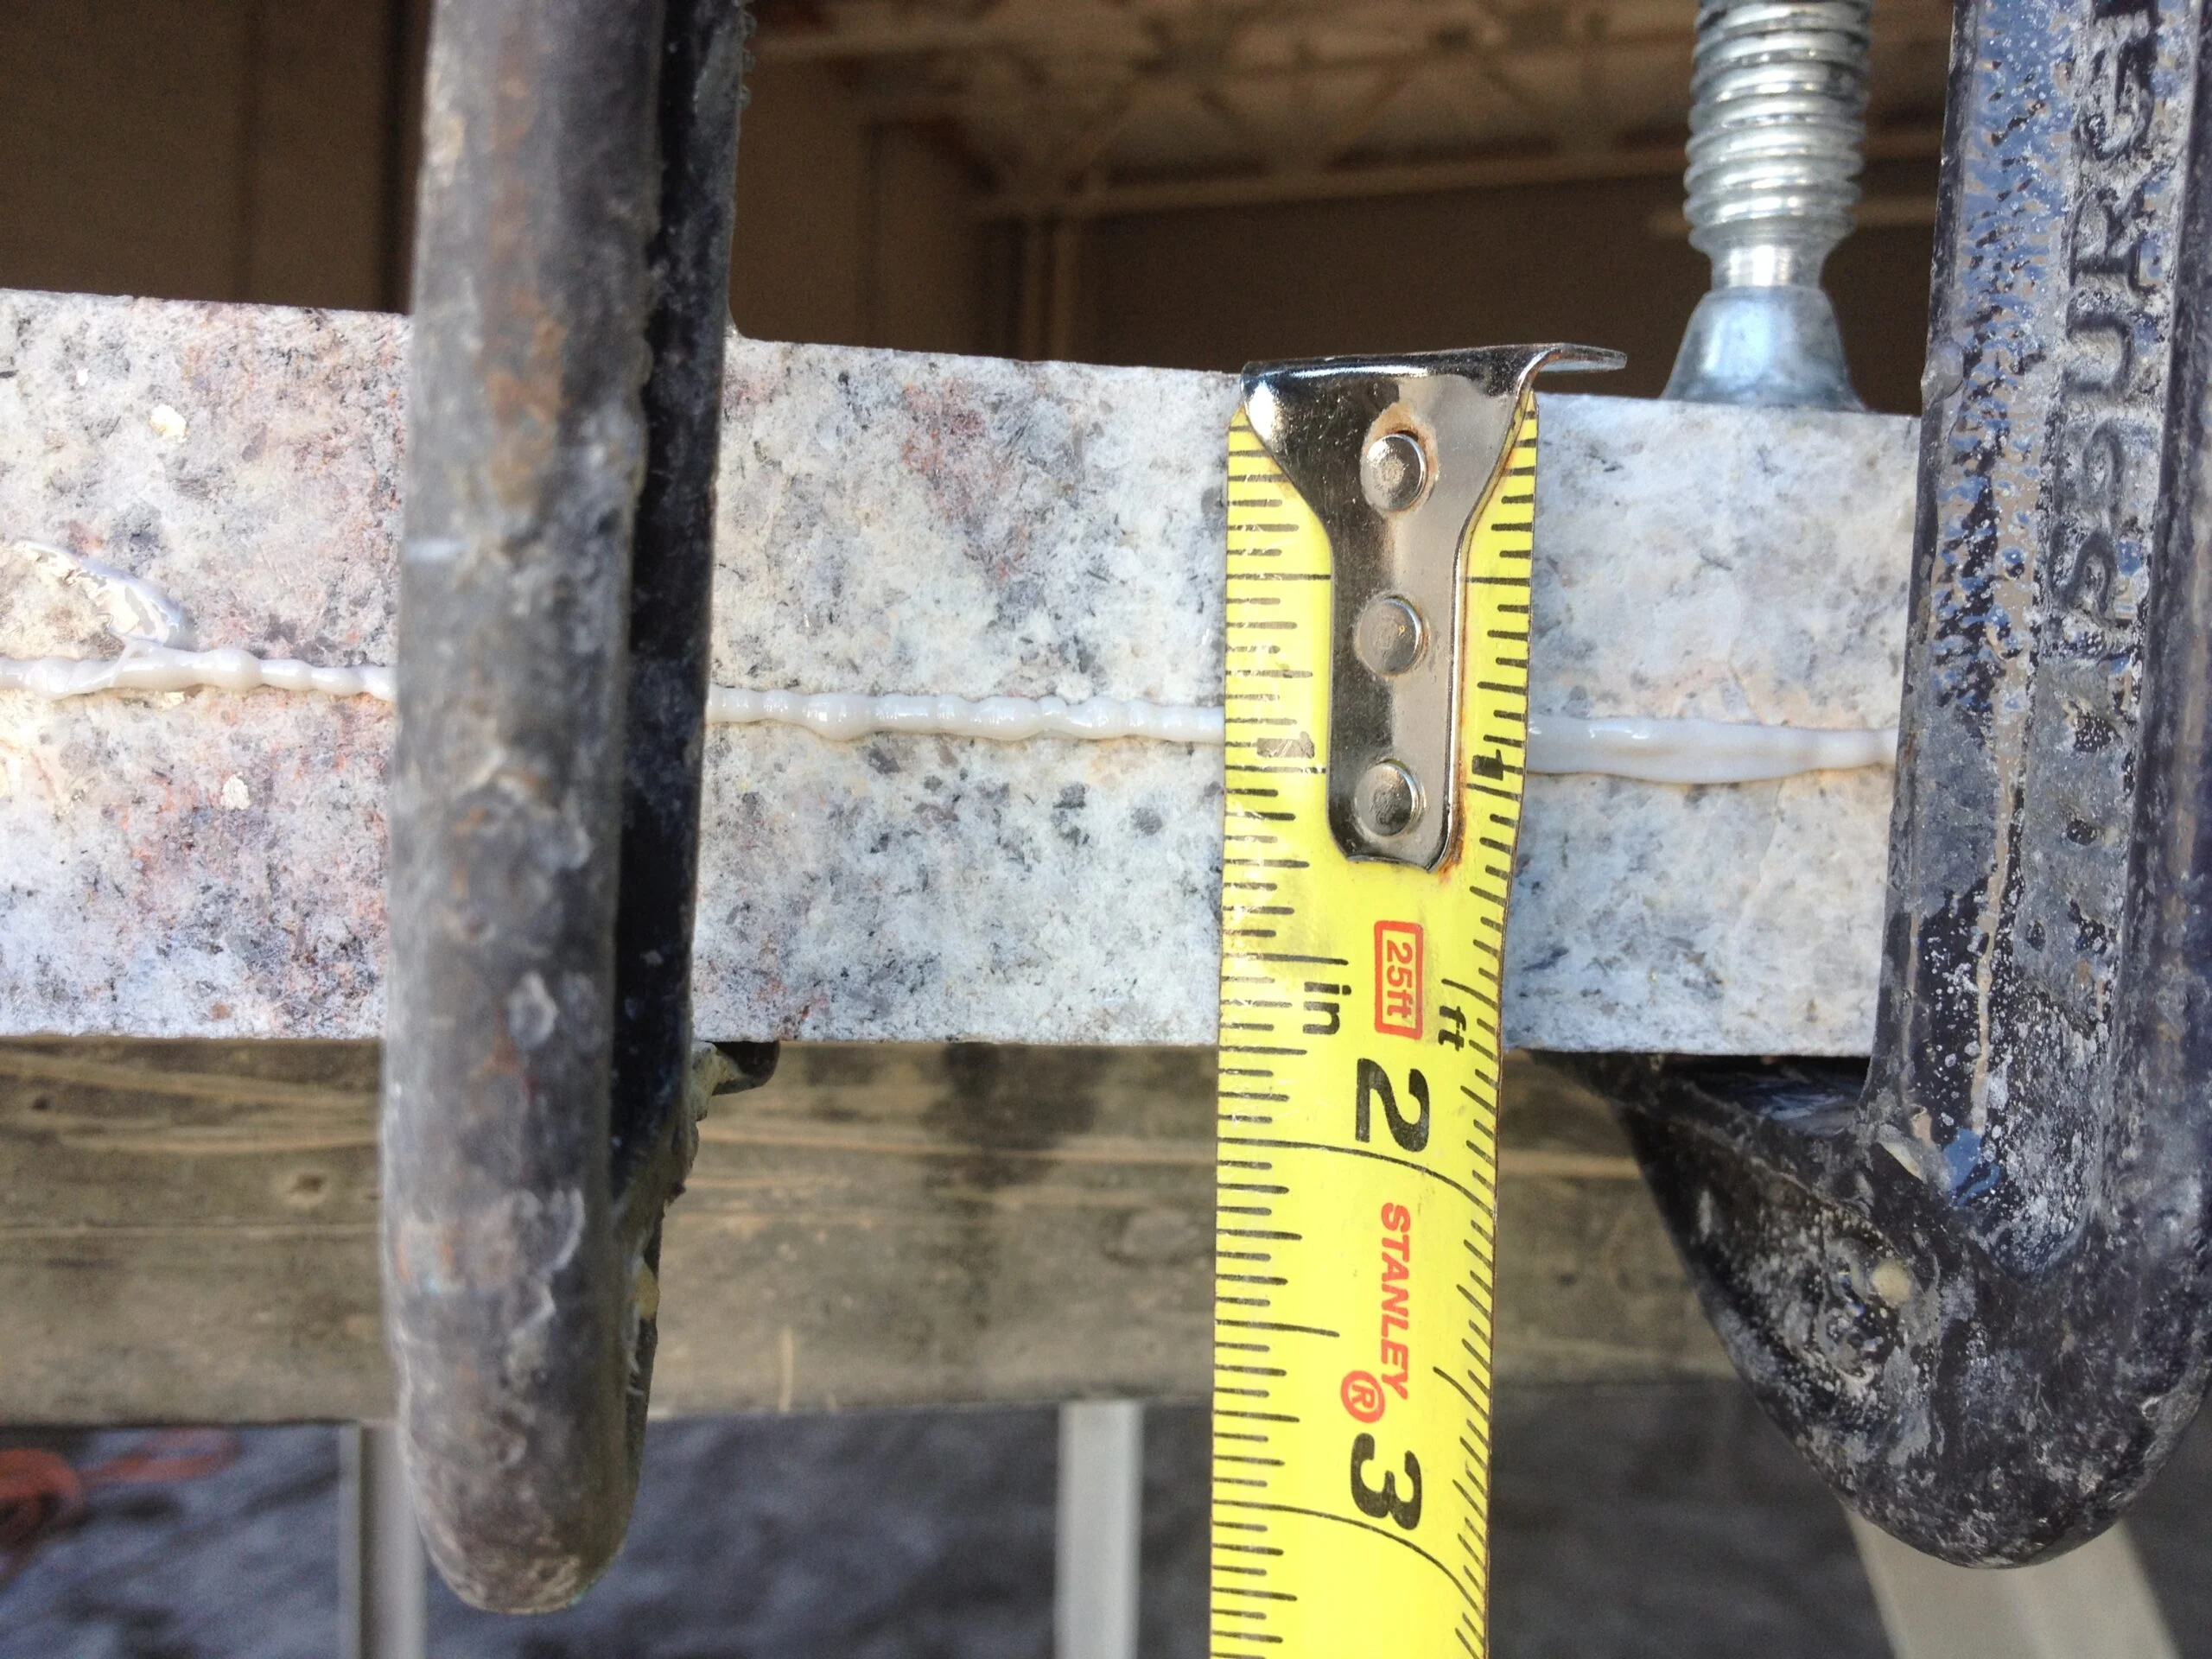
Understanding Thickness Tolerance in Laminated Granite
When fabricating 2cm granite, the lamination process can sometimes result in visible thickness variations. As demonstrated here, one section of the kitchen countertop measures 1 ⅜” while the opposing side measures 1 ¾”.
This discrepancy is due to the natural taper and uneven gauge of raw stone slabs. When these irregular surfaces are stacked and laminated, the variance doubles. This issue is specific to 2cm laminated applications and is considered an inherent property of the material. If precise, uniform thickness is critical for your design, this factor must be considered during material selection.
06.
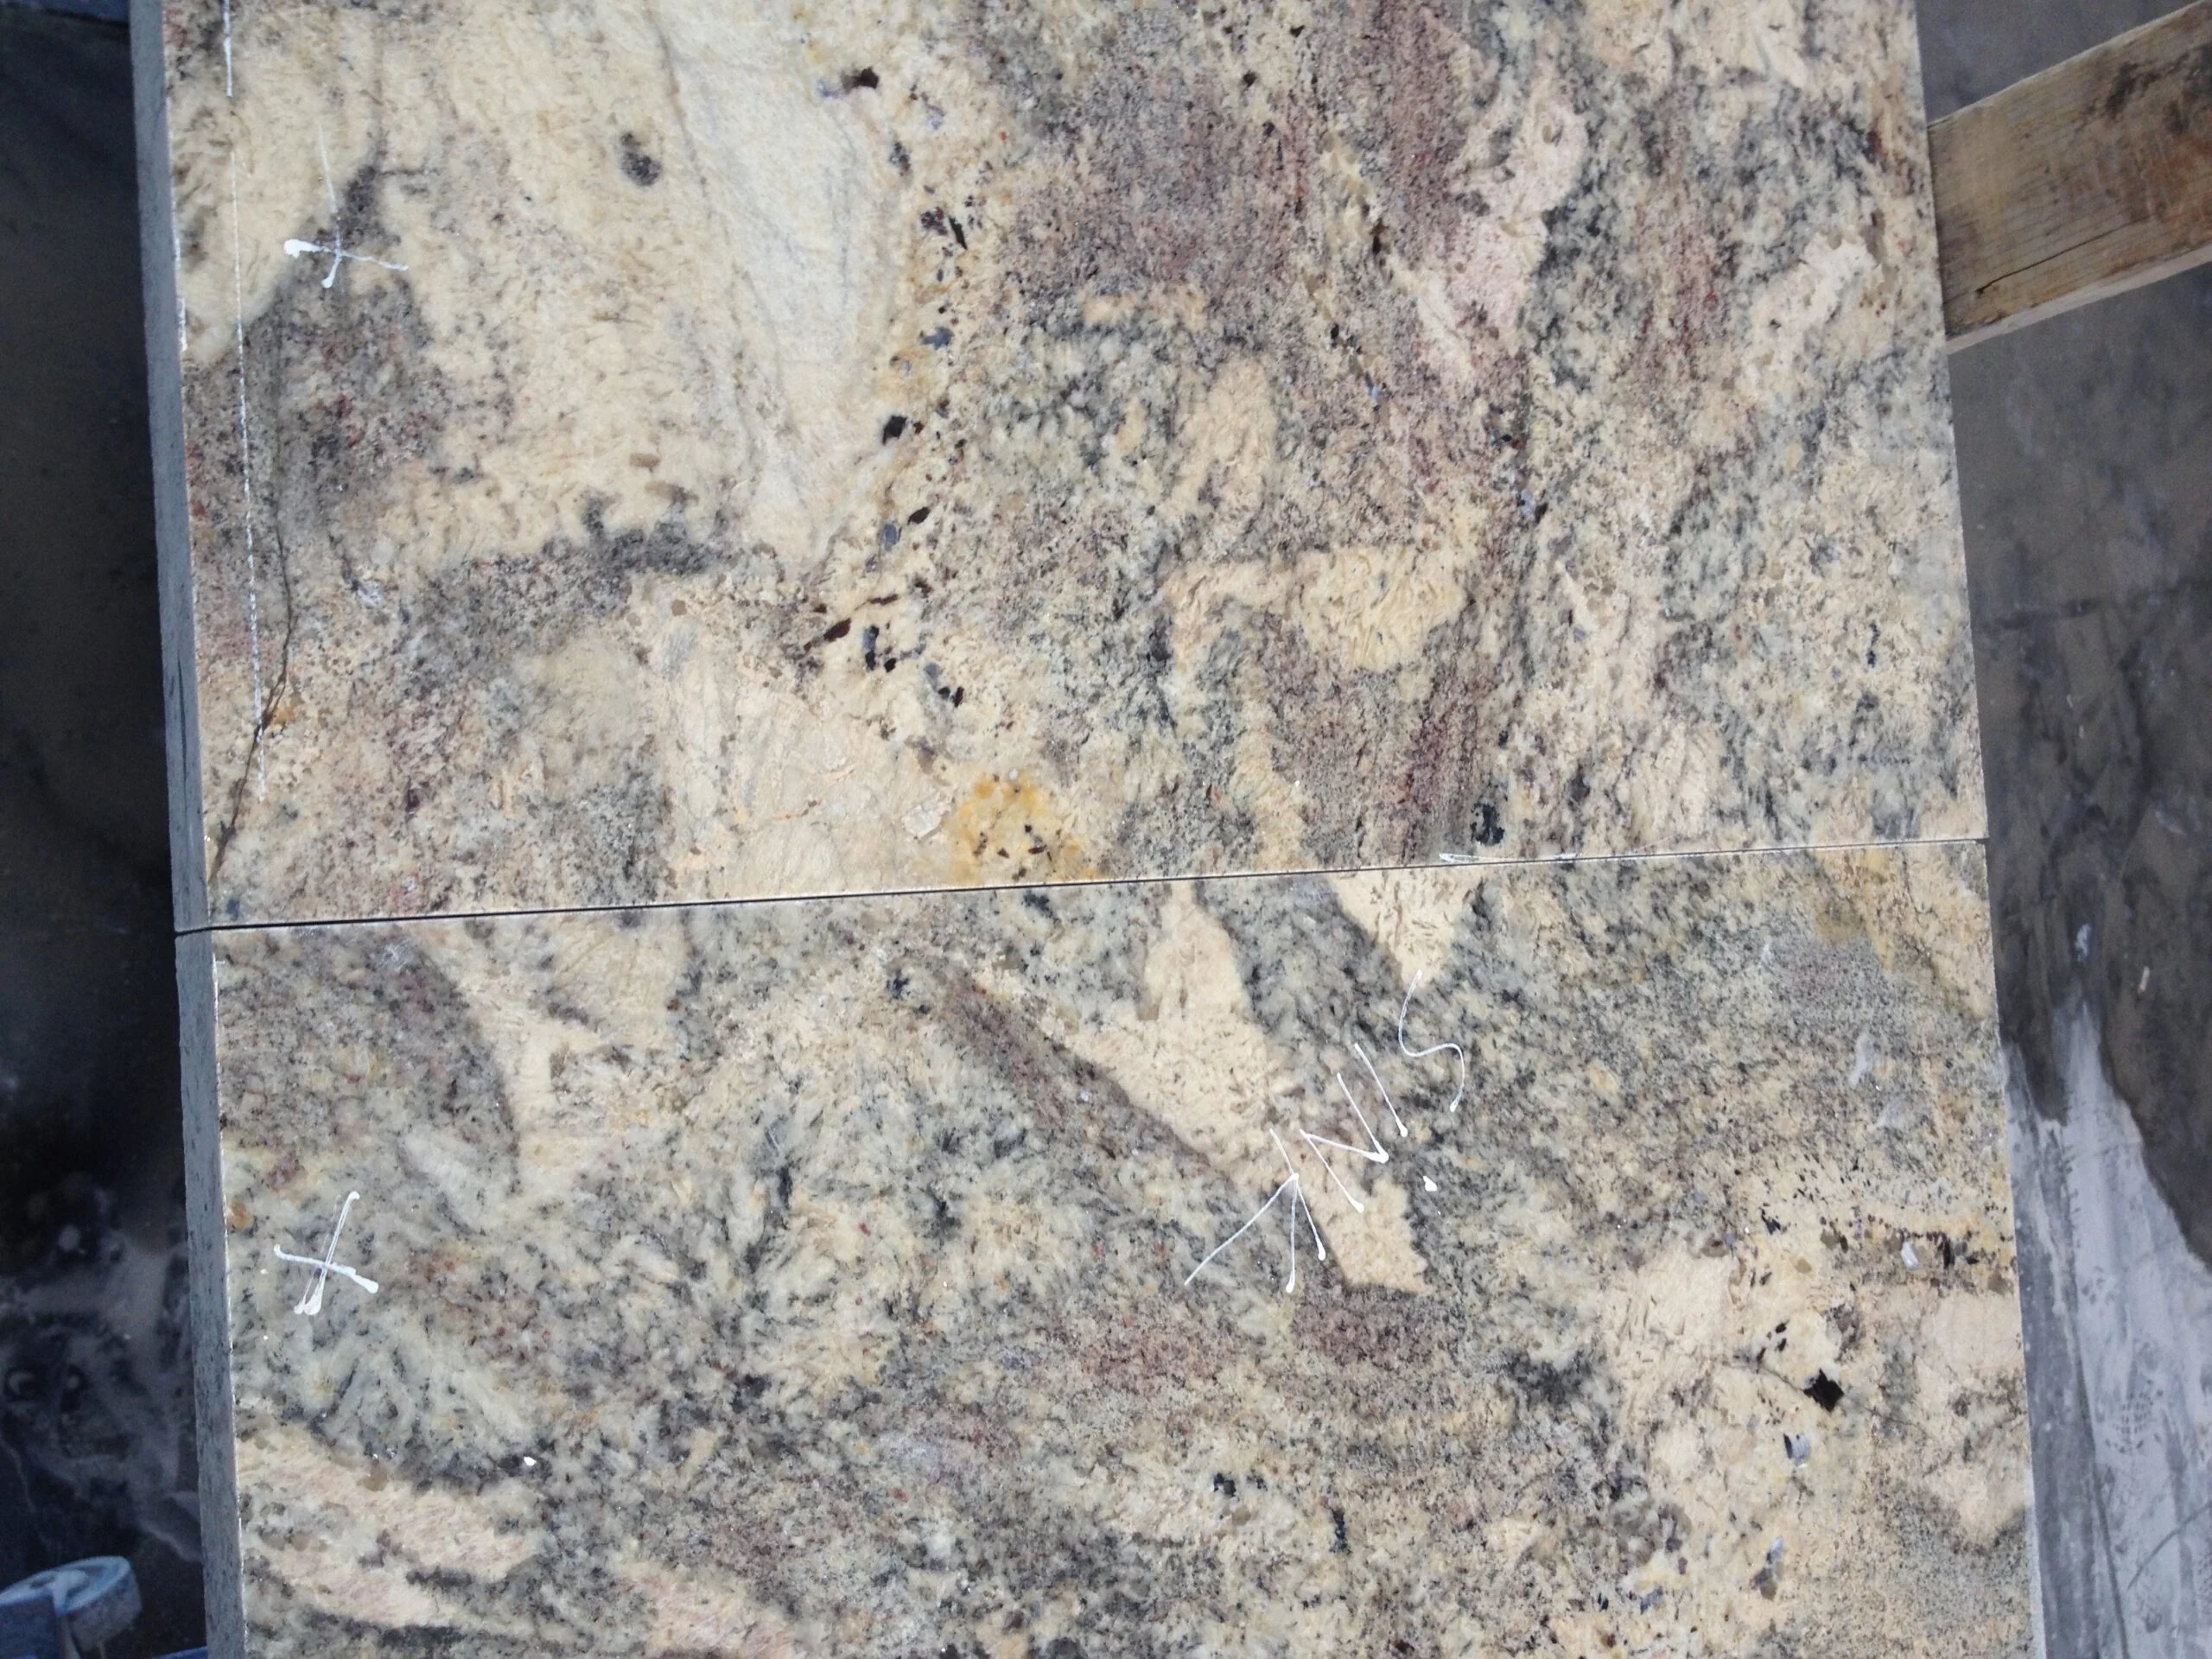
The Challenge of Pattern Matching
Here, we observe the seam joining the two sections of the countertop at the sink rail. The irregular flow and complex patterning of this specific material create unavoidable fabrication hurdles.
Please note that with high-movement stones, a 100% invisible seam is rarely achievable. The chaotic nature of the grain often prevents a perfect color alignment across the joint. We prioritize structural integrity and the best possible visual match, but the natural variance of the stone dictates the final result.
RESIDENTIAL AND COMMERCIAL , STATE LICENSED , BONDED AND INSURED ROC 295378
Location
9207 N 10th Drive,
Phoenix AZ 85021
phone
602-428-7592
Ready to transform your home? We combine top-tier products with world-class service. If you have inquiries about our services or want to discuss your specific needs, contact us using the details below.
Arizona’s go-to source for affordable granite, offering 10+ years of proven experience in custom design, fabrication, and professional installation.